GIFT SUBSCRIPTIONS REQUIRE NO SHIPPING, EMAIL SENT STRAIGHT TO THEIR INBOX. GIFT NOW!
Subscribe Today
ADVERTISEMENT

PREPARING A CIGAR

PREPARING A CIGAR

PREPARING A CIGAR

STORY BY
PHOTOGRAPHY BY

PREPARING A CIGAR

STORY BY
PHOTOGRAPHY BY
‘‘

It’s been the perfect trip with good friends. The day was clear and filled with sunlight, the temperature crisp, and for once the winds in eastern South Dakota were calm. The bird dogs were enthusiastic and the fields were full of pheasants. Now at the end of the hunt, it’s time to relax at the lodge. Libations are poured and the day’s adventures are revisited. Cigars are offered and the gentlemanly ritual of cutting and lighting begins. A fantastic day is about to get better.

Properly preparing a premium cigar for smoking is an experience that creates a connection with the community of cigar aficionados. It is also a ritual with an important purpose. Cutting and lighting are the critical first steps that can make a real difference between a bad smoke and a great smoke.

When offered a cigar, the first step is to carefully remove it from the tube or cellophane wrapper. Place it in your fingers, feel the texture and smell it and taste it. While contemplating the cigar, consider what it represents. Premium cigars begin with dedicated workers who skillfully cultivate, harvest, dry, ferment, and age the tobacco leaves—a process that often takes more than a decade. When the leaves are finally ready for processing, they are combined with other tobaccos according to a blending recipe and shaped into a cigar by artisan rollers known as torcedores. It is often said that hundreds of hands touch the tobacco in a premium cigar before it is ready for cutting and lighting.

There are several cutting options available and they all have the same purpose—to remove a bit of the cap found at the head of the cigar creating an opening for the flow of smoke. The cigar cap extends about a quarter inch down the cigar, enclosing the head. Placing the cap on the cigar is the last step of the rolling process and is used to hold the outer wrapper leaf in place on the cigar. The cap is a critical part of the cigar. If it is damaged or removed in the cutting process, there is a danger that the wrapper will slowly unroll until the cigar becomes an unruly mess that cannot be smoked.

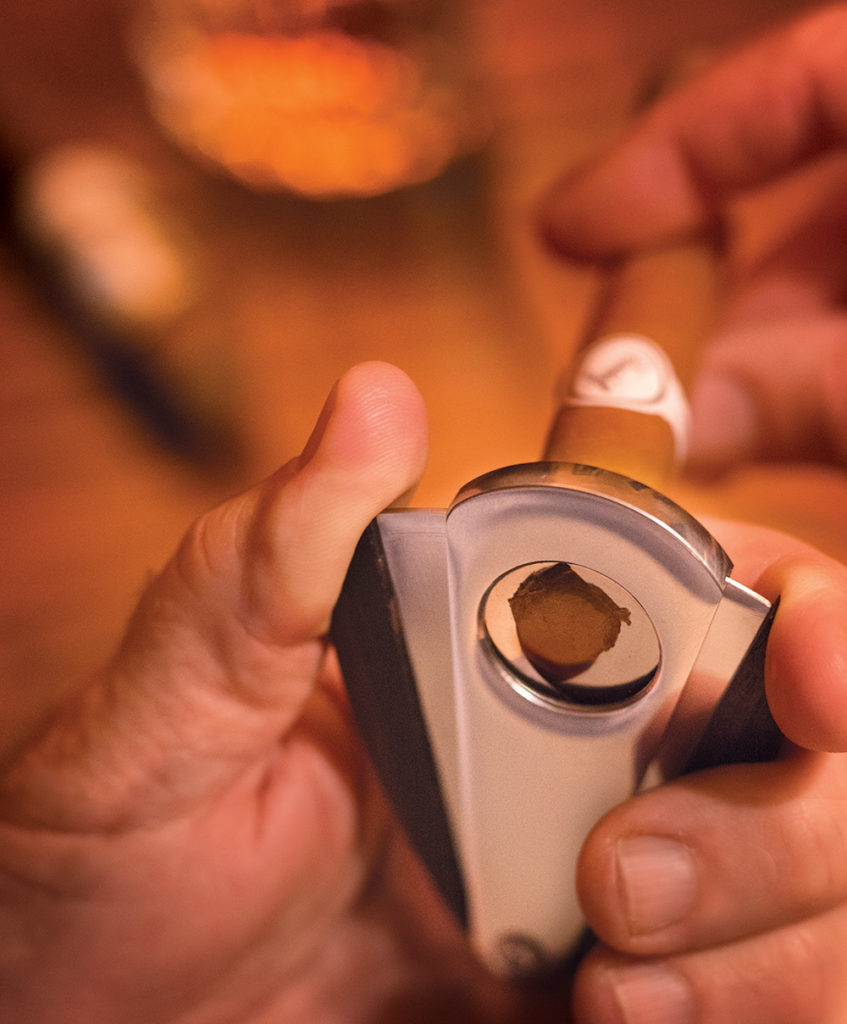
By far, the most popular cutting method is the guillotine cut, in which you employs a single or double bladed cutter to make a straight cut across the end of the cigar. Special cigar scissors also create this cut. There is no need to go more than a sixteenth of an inch down the side of the cigar with the cut. Simply place the very end of the cigar in the cutter and quickly snip off the tip of the cap. Done correctly, the cut will create a small opening while leaving the majority of the cap in place to keep the wrapper attached to the cigar.

Other popular cutting methods are the “V” cut, named for the shape of the opening created across the end of the cigar; and the punch cut, which produces a round hole in the cap. Both of these methods create a small opening in the cigar cap that exposes less cut tobacco to the tongue and concentrates the smoke stream onto the palate, characteristics many smokers enjoy.

Ultimately, the choice of cutter style is a personal decision. The best bet is to experiment until one style becomes a favorite.

Once you choose a cutter, ensure the blades are as sharp as possible. This usually means investing in a higher quality, more expensive cutter, but it’s worth the extra few dollars. Dull cutters tear the tobacco in the cap and potentially turn an expensive cigar into a poor smoking experience.

Back at the hunting lodge, the time has come to cut your cigar. Carefully position the cutter on the cigar cap. Take your time. Make sure the cutter blades are touching the cigar and placed exactly where the cut is desired. Quickly make a confident, bold cutting stroke. Always conduct the cutting operation over an ashtray or trashcan to avoid scattering the cap tip and tiny tobacco cuttings on the floor or table top.

After the cut is made, inspect the end of the cigar to ensure it was clean and where intended. If the cut looks good, place the cigar in your mouth and draw in a puff or two through the cigar. Those dry-smoking puffs should be nearly effortless; if not, simply recut the cigar to make the opening slightly larger.

Once satisfied with the cut and the draw (as the inhalation is called, though you don’t swallow the smoke), it will be time to tackle the second half of the preparation ritual by applying a flame to the end of the cigar to begin smoking. Herf on.

It is often said that hundreds of hands touch the tobacco in a premium cigar before it is ready for cutting and lighting.

PREPARING A CIGAR This article is published in the issue.
Click here to purchase this black issue
Intrested in buying other back issues?
Click here
ARTICLES FROM THE OCTOBER / NOVEMBER 2015 ISSUE
Life in Bronze

Filed In: ,

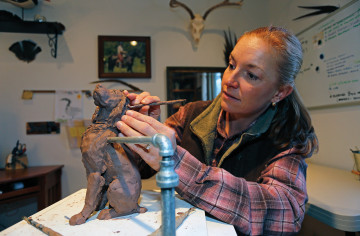
Liz Lewis employs several foundries in the Bozeman area to cast her lost-wax-style work. Recently, she has begun exploring the use of colored patinas to reproduce the coloration of sporting......

Being at Brays

Filed In: , , , ,

Located outside of Savannah, Georgia, and proximate to the charming coastal town of Beaufort, South Carolina, and within a short drive of Charleston—the current capital of Southern lifestyle—Brays...

Curated Fashions

Filed In: , ,

After spending more than eight years in the UK running retail shops, Ramona Brumby of Atlanta’s The London Trading Company came home. “My passion is anything to do with décor,......

Inside the October-November 20...

Filed In:

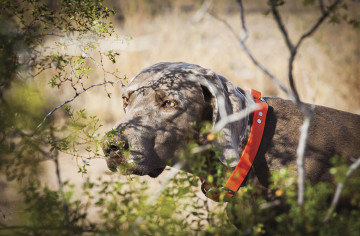
This month’s cover photo of the German shorthaired pointer was taken at Pheasant Ridge by Terry Allen during our June-July 2015 feature coverage of Ferrari. As we traveled to Pheasant......

Bertuzzi Gullwings

Filed In: , , , ,

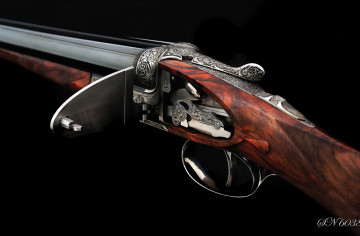
Bertuzzi shotguns have the unique design characteristic of ali di gabbiano, Italian for “the wings of a gull” as the sideplates spring outward like wings, revealing the lockwork inside. ...

Stealthy Ghosts

Filed In: , , ,

Judy Balog, who owns and runs Silvershot Weimaraners in Michigan with Jerry Gertiser, has owned Weimaraners for more than 20 years....

You may also like

The Kind Approach

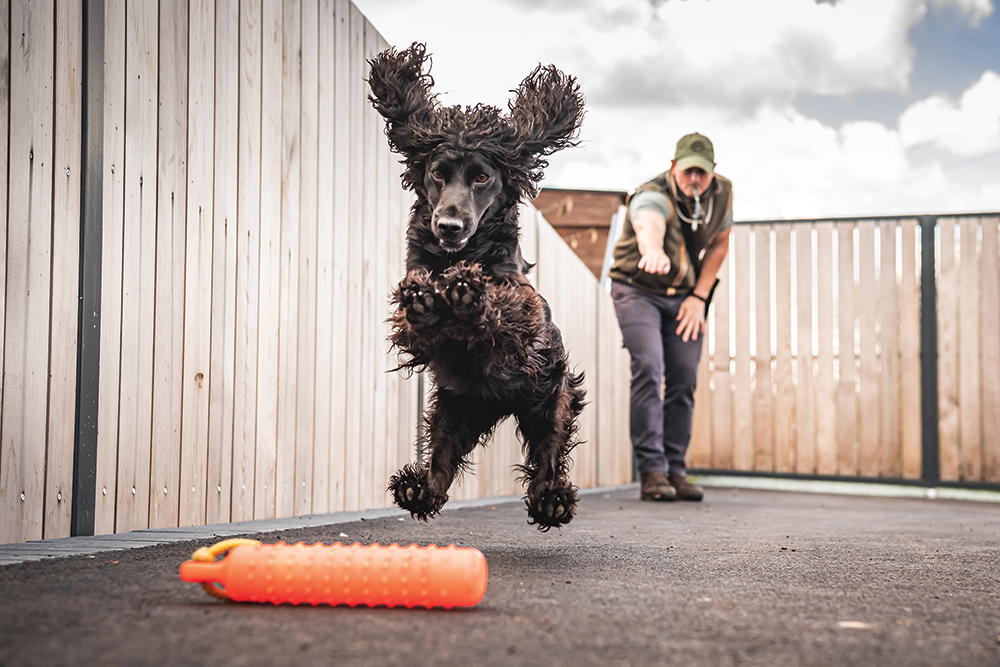
In the United Kingdom, dog trainer Ben Randall sho...

Sturdy Brothers Waxed Canva...

This portable piece is handcrafted to last a lifet...

Viski Solid Copper Shot Gla...

These shot glasses are hand crafted and feature an...

PREPARING A CIGAR

It’s been the perfect trip with good friends. The day was clear and filled with sunlight, the temperature crisp, and for once the winds in eastern South Dakota were calm. The bird dogs were enthusiastic and the fields were full of pheasants. Now at the end of the hunt, it’s time to relax at the lodge. Libations are poured and the day’s adventures are revisited. Cigars are offered and the gentlemanly ritual of cutting and lighting begins. A fantastic day is about to get better.

Properly preparing a premium cigar for smoking is an experience that creates a connection with the community of cigar aficionados. It is also a ritual with an important purpose. Cutting and lighting are the critical first steps that can make a real difference between a bad smoke and a great smoke.

When offered a cigar, the first step is to carefully remove it from the tube or cellophane wrapper. Place it in your fingers, feel the texture and smell it and taste it. While contemplating the cigar, consider what it represents. Premium cigars begin with dedicated workers who skillfully cultivate, harvest, dry, ferment, and age the tobacco leaves—a process that often takes more than a decade. When the leaves are finally ready for processing, they are combined with other tobaccos according to a blending recipe and shaped into a cigar by artisan rollers known as torcedores. It is often said that hundreds of hands touch the tobacco in a premium cigar before it is ready for cutting and lighting.

There are several cutting options available and they all have the same purpose—to remove a bit of the cap found at the head of the cigar creating an opening for the flow of smoke. The cigar cap extends about a quarter inch down the cigar, enclosing the head. Placing the cap on the cigar is the last step of the rolling process and is used to hold the outer wrapper leaf in place on the cigar. The cap is a critical part of the cigar. If it is damaged or removed in the cutting process, there is a danger that the wrapper will slowly unroll until the cigar becomes an unruly mess that cannot be smoked.

By far, the most popular cutting method is the guillotine cut, in which you employs a single or double bladed cutter to make a straight cut across the end of the cigar. Special cigar scissors also create this cut. There is no need to go more than a sixteenth of an inch down the side of the cigar with the cut. Simply place the very end of the cigar in the cutter and quickly snip off the tip of the cap. Done correctly, the cut will create a small opening while leaving the majority of the cap in place to keep the wrapper attached to the cigar.

Other popular cutting methods are the “V” cut, named for the shape of the opening created across the end of the cigar; and the punch cut, which produces a round hole in the cap. Both of these methods create a small opening in the cigar cap that exposes less cut tobacco to the tongue and concentrates the smoke stream onto the palate, characteristics many smokers enjoy.

Ultimately, the choice of cutter style is a personal decision. The best bet is to experiment until one style becomes a favorite.

Once you choose a cutter, ensure the blades are as sharp as possible. This usually means investing in a higher quality, more expensive cutter, but it’s worth the extra few dollars. Dull cutters tear the tobacco in the cap and potentially turn an expensive cigar into a poor smoking experience.

Back at the hunting lodge, the time has come to cut your cigar. Carefully position the cutter on the cigar cap. Take your time. Make sure the cutter blades are touching the cigar and placed exactly where the cut is desired. Quickly make a confident, bold cutting stroke. Always conduct the cutting operation over an ashtray or trashcan to avoid scattering the cap tip and tiny tobacco cuttings on the floor or table top.

After the cut is made, inspect the end of the cigar to ensure it was clean and where intended. If the cut looks good, place the cigar in your mouth and draw in a puff or two through the cigar. Those dry-smoking puffs should be nearly effortless; if not, simply recut the cigar to make the opening slightly larger.

Once satisfied with the cut and the draw (as the inhalation is called, though you don’t swallow the smoke), it will be time to tackle the second half of the preparation ritual by applying a flame to the end of the cigar to begin smoking. Herf on.

It is often said that hundreds of hands touch the tobacco in a premium cigar before it is ready for cutting and lighting.

You may also like

ADVERTISEMENT